Ever stared at that unsightly dent or unexpected hole in your wall and felt a pang of “How on earth did that happen, and how do I fix it? You’re not alone. Life happens: Door handles can close quickly on earlobes, run-ins with furniture are common, and kids leave evidence of their presence. The good news? The good news? Once you understand how to repair plasterboard wall damage properly—with the right techniques, tools, and some patience—you can make that flaw disappear, leaving your wall smooth and flawless again.
In the following steps, we will help you patch plasterboard, fix wall holes, and restore your walls to their original beauty. Are you prepared to get your hands dirty? This guide will help you repair drywall in your home walls, making the repair smooth and professional.
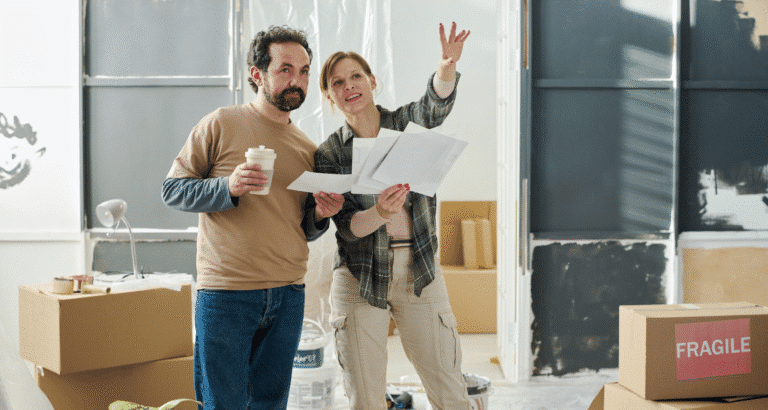
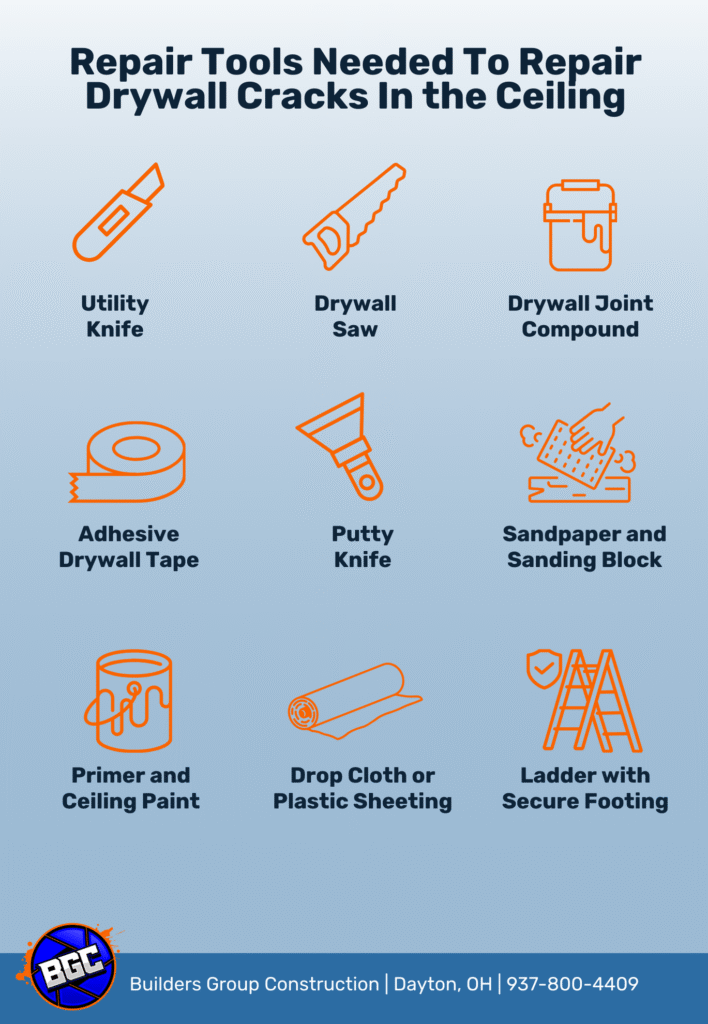
Materials And Tools You’ll Need
All the tools and materials are essential before beginning home interior wall repair. Having all the tools you need before you start helps you complete the task smoothly and without delays in the middle.
- Lightweight spackle or all‑purpose filler
- A drywall patch kit or plasterboard adhesive with a patch board
- Joint compound
- Putty knives
- Utility knife and drywall saw
- Sandpaper and sanding sponge
- Furring strips or wood backing
- Drywall tape
- Primer and matching paint
- Dust mask and protective eyewear
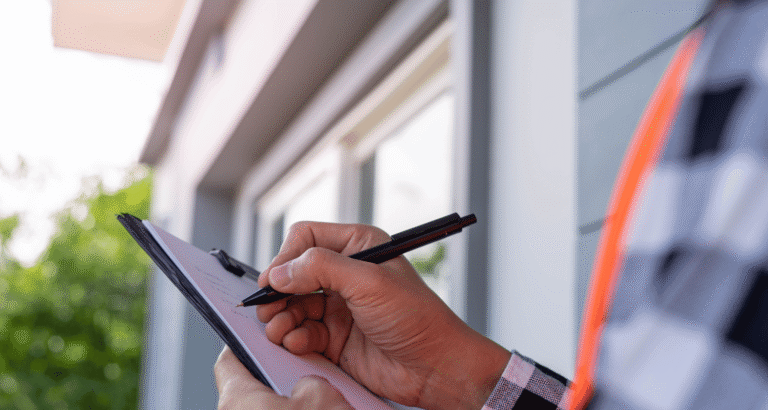
Identifying Minor Damage
Commonly, you will find nail holes, minor dings from furniture, or small bumps, as they occur primarily in high-traffic spots. If your apple is smaller than half an inch, you can celebrate. Such tasks can be performed with minor tools and materials and only take a short time.
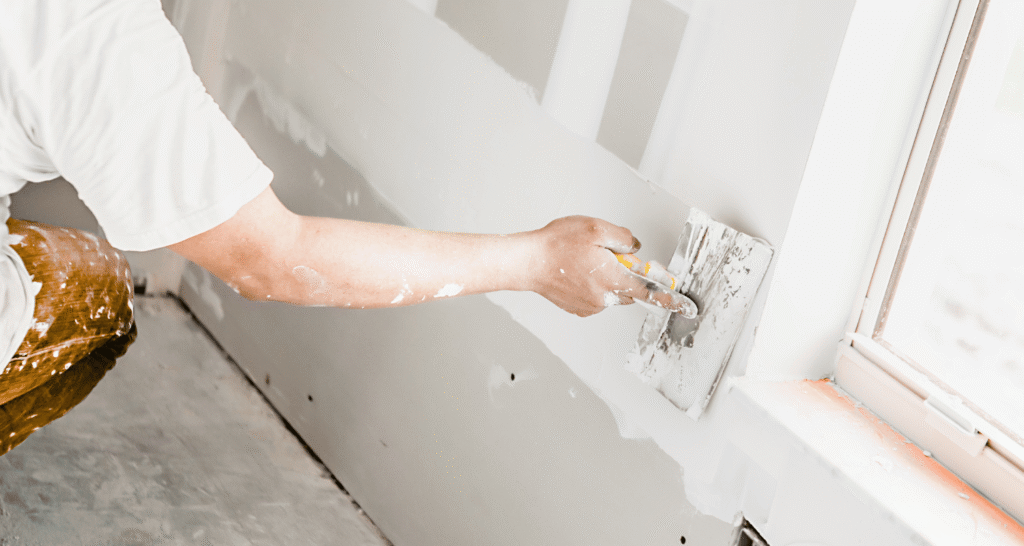
Applying Spackle
Start by cleaning the area. Before using, clean any dust or dirt off the area so the spackle will stick well. Press the lightweight spackle into the dent or hole with your 3-inch putty knife, making it level with the wall. Take off extra putty near the edge and smear it slightly to match the rest of the wall.
After spackling the area, let it dry for 15 to 30 minutes. Later, lightly smooth down the surface with sandpaper. When the area is dust-free, apply a fresh coat of paint that matches your wall, then primer. This technique can be quickly and easily used when you need to patch elemental damage to your wall.
Cutting A Drywall Patch
Holes ranging between 1″ and 6″ should be repaired with a patch, as they are too large for spackling alone. Take a piece of drywall scrap and put it over the hole. Draw a small square that slightly covers the damaged portion. Carefully remove the damaged part by carefully slicing and removing it with a utility or drywall saw.
Installing Support Backing
After that, a wooden furring strip will be used to cover the opening in the wall. Secure it inside the wall with drywall screws for firm support. Then, attach your ready-shaped drywall patch to the furring strip so it sits straight and flat.
Taping And Mudding
Use fiberglass tape with an adhesive on the joints to avoid cracking in the walls. Using a 6-inch knife, cover each taped seam with a thin layer of joint compound. Let it dry thoroughly, usually 24 hours. After painting, smooth out the second layer to blend more areas, and once the paint dries, sand to get a smooth surface. Use a final smooth layer, let it dry before nightfall, and gently sand it. When reinforcement is needed, this patching method is the best choice for holes in walls.
Using A Plasterboard Patch Kit
Rooms with holes measuring 6″ or more can be repaired easily with the help of a plasterboard patching kit. Kits often include an adhesive mesh patch that you can place by yourself. Cover the opening with the mesh and make sure it is pressed together.
Fill the mesh with the joint compound, smoothing the transition to the wall. Air dry after the first coat and add a second or third coat before using sandpaper to level everything out.
Alternative “Patch Board” Method
If you don’t have a mesh patch, trim your patch board slightly smaller than the hole. Pour plasterboard adhesive directly onto the edge of the patch and rub it evenly with your finger. Place a temporary screw on the patch to bring it up against the wall. When the adhesive has dried, remove the screw and use filler to cover up any gaps in the area. First, smooth the wood, then put on primer and cover with paint. Regardless of the method, you’re fixing problems like an expert, and this is all part of DIY drywall restoration, which helps your home and saves money.
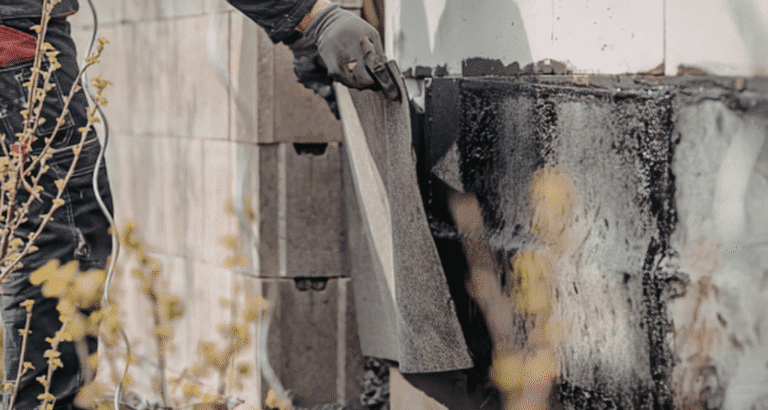
Addressing Lath And Plaster
Fixing up older homes with lath and plaster adds specific difficulties. The beautiful walls need to be looked after regularly. Start by stabilizing loose plaster. Pierce some small holes near the damaged area and insert bonding adhesive to stabilize the plaster. Keep it in a safe place for approximately 24 hours. The third step is to use the scratch coat, which fills the spaces between the lath and holds your repairs securely.
After that, add two more layers of plaster, allowing each layer to set before applying the following one. When the compound is firm, add another layer of joint compound, smooth it, and apply primer and paint. While they can take time, these fixes adequately protect and highlight the character of your walls.
Ensuring A Flawless Finish
Your work is judged most by the final details, regardless of the overall size of the repair. First, use fine-grit sandpaper to remove any uneven parts and compound ridges. Always clear up dust before painting to make sure the surface is clean.
Apply a thin coat of primer to the area you fixed. This makes the surface more waterproof and ensures the paint will stick properly. Lastly, match the paint to the first one and apply between one and two layers to give the area full coverage. No one can see the damage if you carry out these steps correctly.
Get Help From The Wall Repair Experts At BGCnow
Most wall repairs can be completed by yourself. Yet, there are times when appointing a professional is necessary, as in the cases of soggy plaster, recurring cracks, or huge projects. BGCNow provides services from repairing wall dents to replacing and painting entire drywall areas.
Do you need suggestions, equipment, or assistance from professionals? Feel free to reach out to us whenever you need help. We are here to help you restore your walls and the look of your home. Whether you decide on plasterboard repair or DIY drywall work, BGCNow is home to top‑quality tools and professional tips. Stop by BGCNow to find high-quality spackles, patch kits, and joint compounds, so every wall dent or hole can be repaired seamlessly!
FAQs
What is the best fix for a plasterboard wall?
Light items are best secured with drywall anchors, whereas heavier items should be attached using spring toggles and metal wall plugs. Check that the mount you use is suitable for fixing in plasterboard.
Can you fix the plasterboard directly on a wall?
Screws can be used to attach plasterboard to timber or metal battens, or it can be fixed with the dot-and-dab gluing technique. Adhesive is the best approach for solid brick or block walls.
How do you fix a crack in a plasterboard wall?
When fixing a crack, increase its size, remove debris, put fiberglass tape on it, and apply joint compound to the area. After it dries, sand the surface again and cover it with primer and paint.
Can you repair damaged plasterboard?
It is possible to reproduce damaged plasterboard with patch kits or by putting in new pieces. Fill small dents with spackle; for bigger holes, use a patch to cover them and smooth over with joint compound.