Do you ever notice the cracks on your ceiling and feel upset? Ceiling drywall cracks can make you feel like your home’s structure is being threatened, and dealing with them may be intimidating if you have never handled a putty knife before. We recognise at Builders Group Construction that for every homeowner, a flawless ceiling without cracks is essential, whether you are touching up minor marks after settling or handling slight marks from seasonal changes.
We’ll help you repair your ceiling using simple methods and take the time to teach, so expert help isn’t needed; you can do it all yourself. It’s time to cover up and restore your ceiling to its best condition!
Why Ceiling Cracks Occur
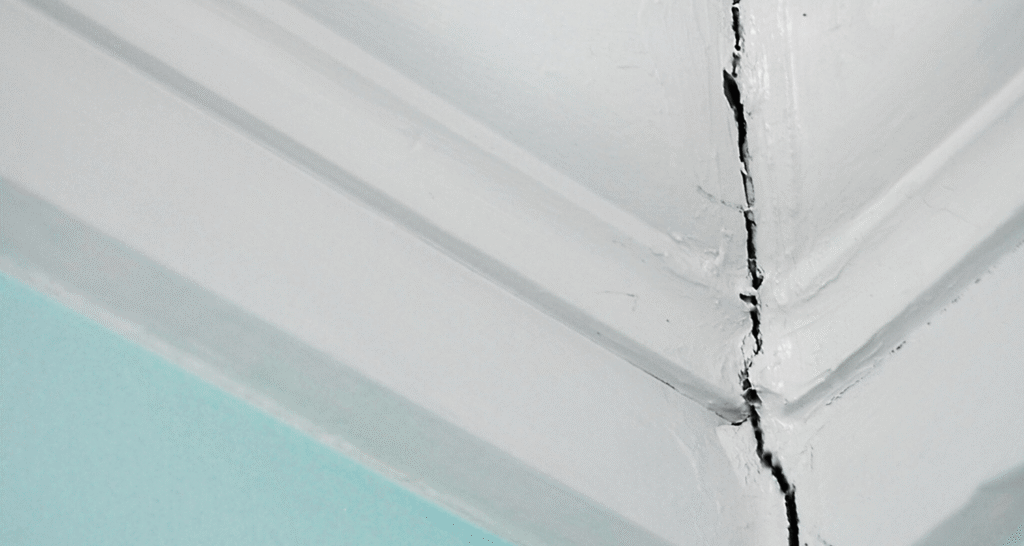
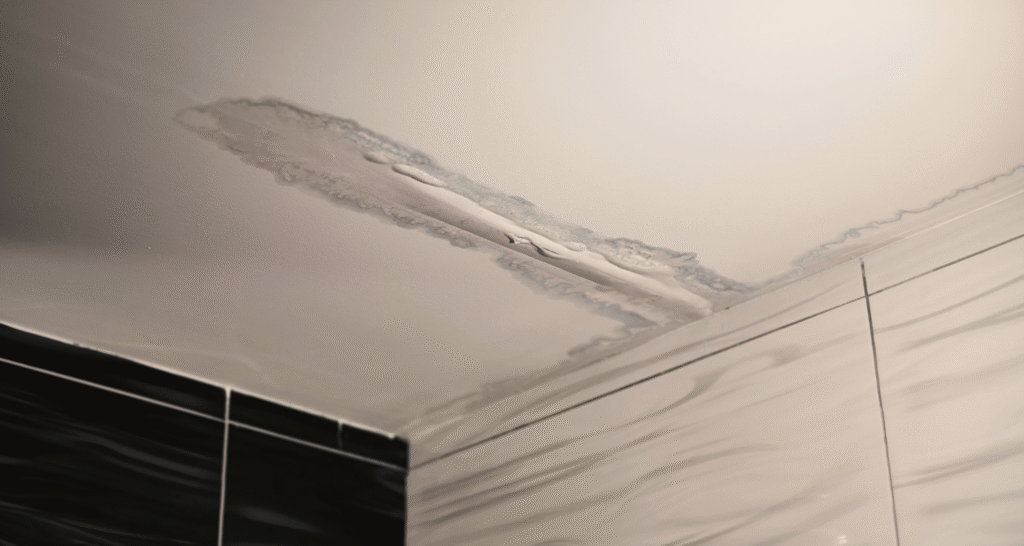
Hairline fractures in the ceiling are often the first sign of trouble, appearing when the house settles or due to changes in temperature or humidity. Hairline cracks usually develop along the edges of drywall tape as the materials shrink and expand with time. Seams on poorly finished drywall often split as the compound dries and hardens.
Water damage from leaks causes stained cracks, and if ignored, the problem can be more serious and must be managed by a plumber. The most serious damage is structural and often appears as long or spiderweb cracks. Should you suspect any of these, choose professional home drywall repair for your safety.
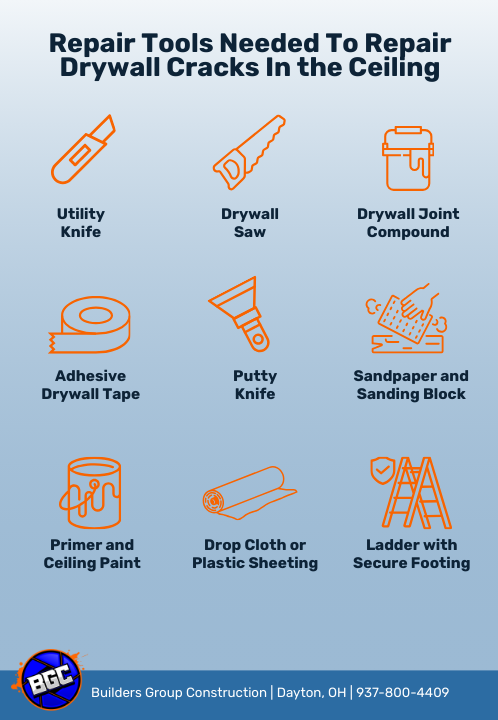
Tools and Materials Needed
Having all the necessary tools and materials is vital before you begin your DIY ceiling maintenance. When you have the right tools handy, you save minutes, and your work will appear polished and done by a pro. No matter the size of the problem with your ceiling, prepare before starting repair work. The following list explains what you should have close at hand:
Utility Knife
It can also help expand wider cracks so adhesive sticks to the edges. A good knife can make shaping the area much easier and leave the surface smoother. The putty razor can also remove old tape and any flaking paint around the crack. It is oen of the essential tool for patching drywall damage.
Drywall Saw
A drywall saw will make the job easier when the damage is from larger holes or cracks. This tool is designed to cleanly remove pieces from your vehicle so you can correctly replace those parts. Consider choosing a compact and ergonomic way to work, as it reduces arm fatigue.
Drywall Joint Compound
Because it is sometimes called “mud,” joint compound can be purchased in either pre-mixed or dry powder form. New artists can choose all-purpose premixed compound, and for quicker drying, it’s best to pick setting-type products (such as Durabond or Easy Sand) for the first coats. It goes in the gaps and fills over the tape so the surface looks perfect.
Adhesive Drywall Tape
A cracked area should be reinforced with paper or fibre glass mesh tape. The tape variant is tougher, but it requires more skill to position it correctly. Mesh tape is simple to work with and is perfect for those just learning, yet it may not last as long. Either type stops cracks from occurring and helps fix existing ones.
Putty Knife
Six to twelve putty knives will help you apply and smooth the joint compound. Narrow knives are perfect for the first layers, but broad knives will blend in the repair and connect it to its surroundings. A blade that can be moved around gives you the best cut quality.
Sandpaper and Sanding Block
If you want a surface without marks, proper sanding must be done. First, use medium-grit sandpaper and then complete with fine-grit (up to 220). Sanding with a block of sandpaper helps make the finish even and helps prevent your sandpaper from gouging the wood. Remember to put on a mask to stop you from inhaling dust.
Primer and Ceiling Paint
As soon as the repaired area is smooth and dry, the primer encloses it to avoid flashing as you add the final coat. Use a primer on your ceiling, then choose matching paint for a clean blended result. With this last step, everything will look new again.
Drop Cloth or Plastic Sheeting
Before starting, cover the floors and furniture with a strong drop cloth or plastic sheeting. This will help you more easily clean up messy dust, broken compound, and paint stains.
Ladder with Secure Footing
You will need a non-slip and strong ladder when working on the ceiling. Be sure the chair can touch the ceiling without requiring you to stretch or lift as much as possible. Stability is essential, so ensure the ladder is secure before using it.
Step‑by‑Step Repair Guide
Don’t be scared to repair drywall cracks in the ceiling, as it becomes much easier once you know what to do. The guide explains how to fill both minor cosmetic problems and major splits in steps that are easy to follow.
All the steps from repairing drywall to fixing ceiling seams in the ceiling are designed to make your ceiling look perfect again. It’s essential for more than looks. It helps prevent future harm to your home and makes you feel more secure. Let’s start with a guide to drywall ceiling repair, breaking it down into simple steps.
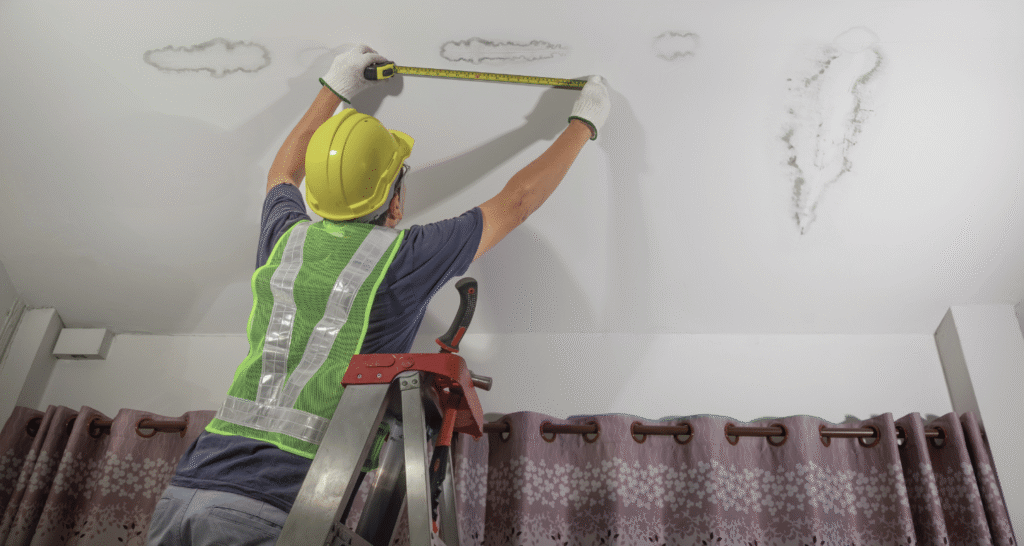
Prepare the Area and Assess Damage
Use a drop cloth to gather falling dust and ensure all your furniture is moved to the side. Look into the crack to find out if it’s a small one or a larger one that requires cutting out and patching. Usually, you can fix cracks with only tape and compound, but more serious damage should be filled with a replacement drywall patch.
Cut Out and Clean the Crack
Cut a small “V” shape in the crack, widening it by about a quarter of an inch, to ensure the compound sticks. Pick away the loosened dust and use a damp cloth on the area to wipe up the dust.
Apply Tape and First Coat of Compound
Glue the adhesive paper or mesh tape carefully over the prepared groove and try to push out any bubbles. If you want the first coat to set firmly, combine any Easy Sand type with a setting time of your choice; alternatively, pick an all‑purpose mixture for a quicker, more straightforward application.
Take a knife or putty knife and apply compound on the tape all along the glue joint, ensuring you press well and thoroughly coat the groove.
Build Up and Feather Out Coats
Let the first layer of the adhesive completely dry (a patch should be applied before the compound dries enough to dry in 20–90 minutes The premix can be ready only after 24 hours. After the first coat has dried, paint a second coat, going over the first by 3–4 inches to blend the borders nicely according to eppconcrete.com. The third layer could be applied to a level surface. If the cracks are wide or deep
Sand Smooth
Sand the repaired spot well (it could take 24–48 hours) with 120–220 grit sandpaper so that it is perfectly blended with the nearby ceiling. Always wear a mask when you are sanding to shield your lungs.
Prime and Paint
Old Barn Shop recommends coating the patched area with a quality primer to guarantee that the paint will not be uneven. As soon as the primer is dried, apply the paint across the ceiling or in a large area around where it was patched.
When It’s Time to Call for Home Drywall Restoration
A dedicated DIYer can fix most small cracks, but it is sometimes better and safer to hire professionals. Trying to fix something complicated if you lack the skills or tools can cause extra harm or put you in danger. Now you should seek expert help if you see any of these behaviours:
- Structural cracks wider than 1/8 inch or spiderweb patterns
- Evidence of active leaks or widespread water damage
- Sagging or misaligned ceiling panels indicate a joist issue
Booths For Home Dining: Add Style and Function to Your Home Dining Experience
Conclusion
Expert contractors can perform the work well by using easy-to-use equipment, having industry experience, and knowing the details of building designs. When performing full home drywall restoration, they care for appearance and durability. Contact Builders Group Construction and repair your drywall with the help of professionals!
FAQs
What is the best way to fix cracks in a drywall ceiling?
First, scrape out any small stones or bits of rock from the crack. If the crack is large, glue drywall tape to the wall and fill in the gaps with joint compound. Finish off by smooth sanding and applying another coat of paint for a perfect result.
Are cracks in a drywall ceiling normal?
Minor cracks often occur because of the property’s normal settlement, changes in the weather, or changes in humidity. If cracks continue to widen, they could indicate that something major is wrong with the structure and may need to be checked by a specialist.
What is the best product to fill cracks in ceilings?
Fill small cracks in your ceiling with lightweight joint compound or spackling. These products go on smoothly, dry fast, and can be sanded down to prepare the surface for painting.
Can you just paint over the cracks in the ceiling?
Attempting to cover over cracks with paint leaves them visible and can cause them to return.