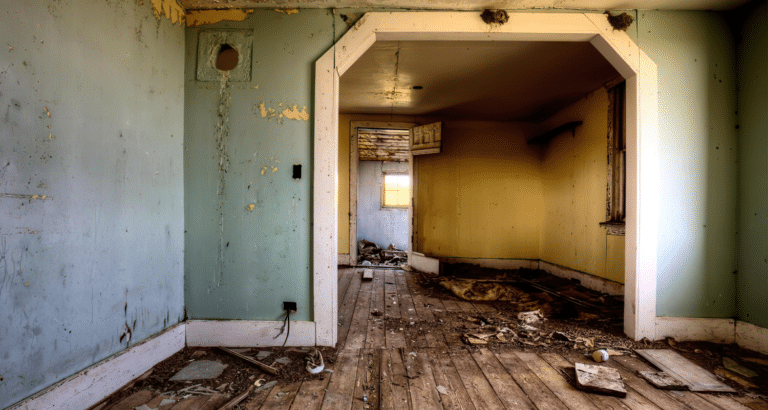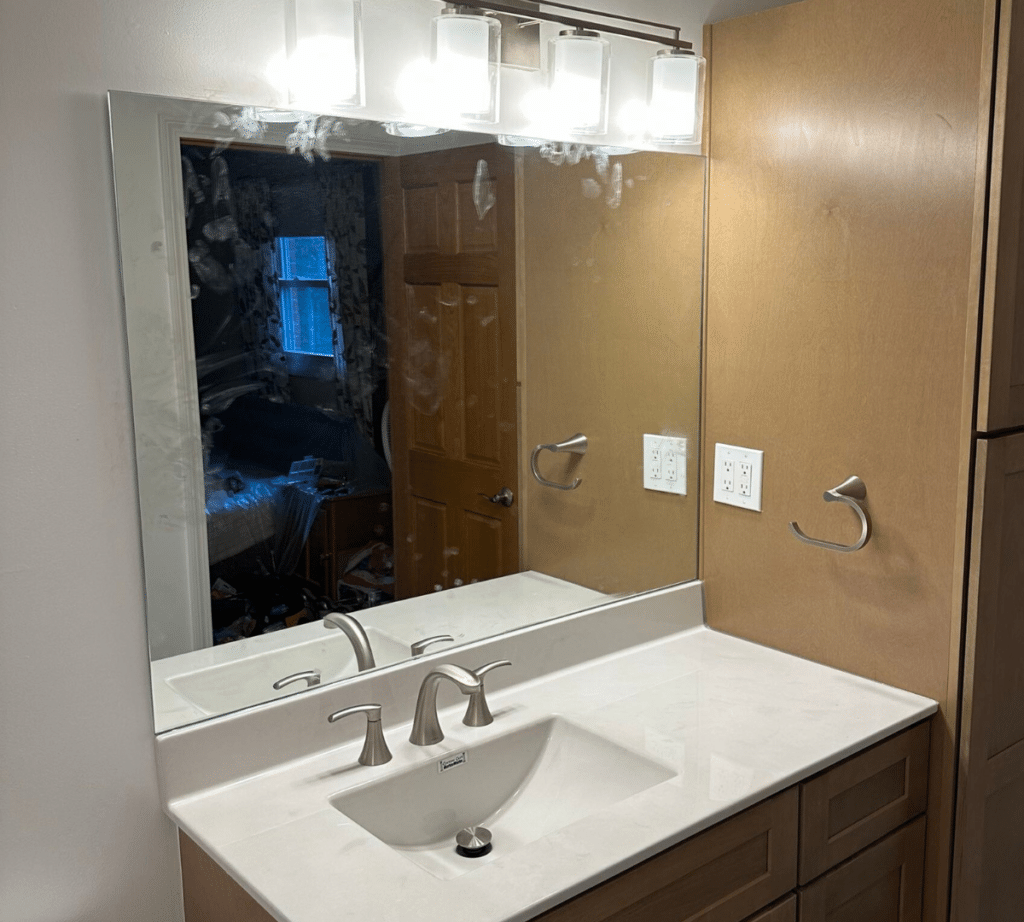
That half bath sitting off your hallway is one of the most underused spaces in your home. A toilet and a sink. Nothing else. But that same room has real potential. With the right work, it becomes a fully functional wet room that adds daily value, improves your home’s functionality, and looks far better than what was there before.
This is not a weekend paint job. A wet room conversion involves real plumbing, proper waterproofing, and careful planning. But for homeowners who want to get more out of a space that currently does almost nothing, it is one of the best investments you can make.
At Builders Group Construction, we handle bathroom conversions and full renovations across the Dayton area.
This guide walks you through every step of the process, from what a wet room actually is to what it costs and whether you should hire a pro.
What Is a Wet Room Bathroom?
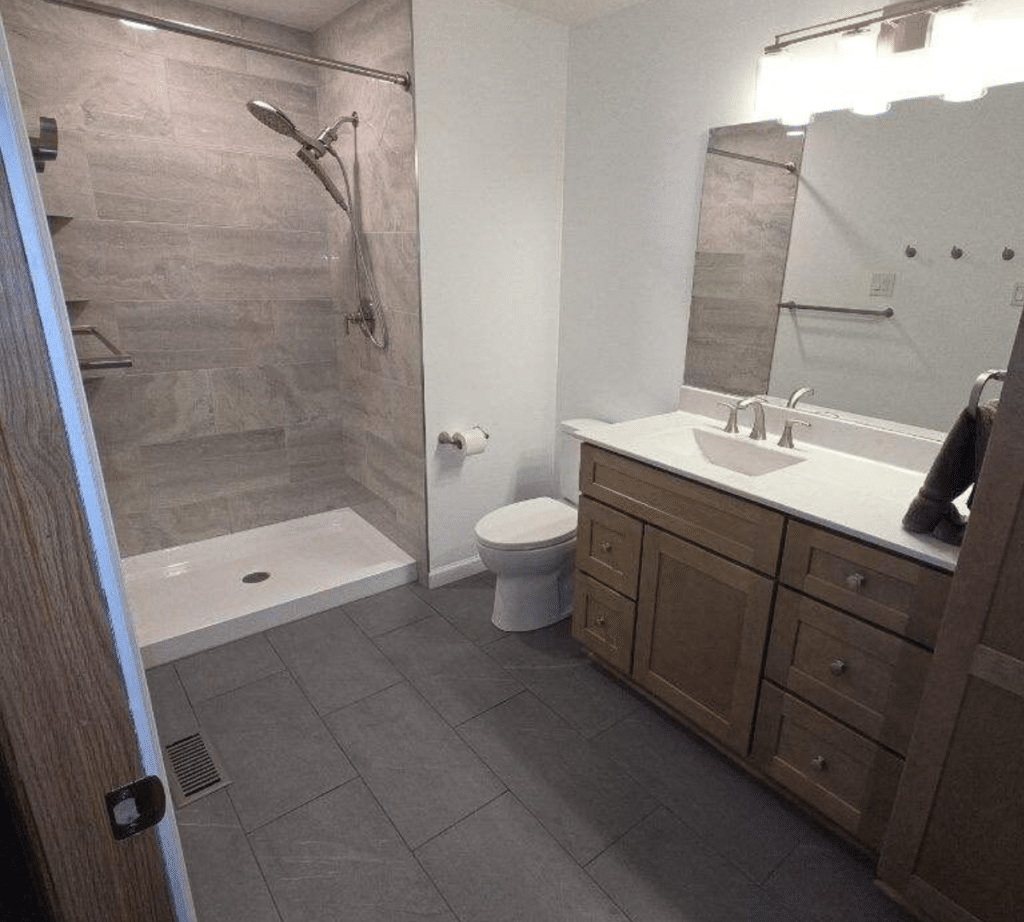
A wet room is a fully waterproofed bathroom where the shower has no enclosed tray or box. Water runs across the entire floor and drains through a central floor drain. The walls and floor are sealed from top to bottom.
It looks clean and modern. It also works well for people with mobility needs since there’s no step or edge to cross.
Can You Convert a Half Bath Into a Wet Room?
Yes, but it is not a simple cosmetic update. You are adding a shower to a room that has no drainage, no waterproofing, and often no ventilation system built for moisture.
The space needs to be large enough to hold a shower area. Most wet room showers need at least 36 by 36 inches of floor space. A standard half bath can work, but you need to measure carefully before starting.
If you are thinking about bathroom remodeling in Dayton, a wet room conversion is one of the more involved projects. But it can completely change how you use a previously limited space.
Step-by-Step Conversion Process
Demolition and Prep
Start by clearing the room. You’ll need to remove flooring, wall material, and possibly the subfloor depending on how your drain will be positioned. Check for any pipes or cables before tearing into walls or floors.
This is also the time to decide where your drain will go. The drain placement affects everything else in the project.
Plumbing and Drain Installation
A wet room needs a floor drain connected to your home’s plumbing system. If a drain line doesn’t already run through that area, a plumber will need to extend or reroute one.
The drain sits at the lowest point in the room. All water needs to flow toward it, which is why the floor slope matters so much.
Many homeowners doing a wet room conversion underestimate how much plumbing work is required. This step alone often determines whether you hire a professional or not. Our guide on what to expect during a Dayton home remodel gives you a clear picture of how a project like this is managed from start to finish.
Creating a Sloped Floor
The floor must slope toward the drain at a rate of about one quarter inch per foot. This is called the fall or gradient.
To create this slope, a layer of mortar or a pre-made wet room former is installed over the subfloor. The surface is shaped so that water never sits still on the floor.
Getting this right matters. If the slope is uneven or too shallow, water will pool. This creates mold problems over time.
Waterproofing (Tanking System)
This is the most important step in the entire project. Every surface in the room must be sealed. That means walls, floor, corners, and the areas around the drain and any fixtures.
Waterproofing is applied using a liquid membrane or a tanking system made of layers of waterproof material and tape. Seams and joints get special attention because those are where leaks usually start.
The U.S. Department of Housing and Urban Development recommends proper moisture control systems in bathrooms to prevent structural damage and mold growth in residential buildings.
Skipping or rushing this step causes serious problems down the road. Water damage inside walls is costly and difficult to repair.
Installing the Shower System
Once the waterproofing is done and dried, you can install the shower. A rainfall showerhead works well in wet rooms because it creates a spa-like feel without taking up extra floor space.
You can also add a simple glass panel to keep water from reaching the toilet and sink area. A clear panel works best in a small space because it doesn’t block light or make the room feel smaller.
If you want help planning a walk-in shower installation involves, our guide to luxury bathroom remodels covers design options and layout planning in detail.
Tiling and Finishing
Tile goes on walls and floors from bottom to top. Use smaller tiles on the floor since they handle the slope better and give more grip underfoot. Larger tiles can work on walls.
Choose tiles rated for wet areas. Matte or textured finishes are safer on floors than glossy ones because they’re less slippery when wet.
Grout must be sealed properly to keep moisture from getting behind the tiles.
Waterproofing Explained
Many people think tiles are enough to waterproof a bathroom. They’re not. Tiles and grout are not fully waterproof on their own.
The waterproof layer goes underneath the tiles on both the floor and walls. Without it, water works its way into the structure of your home over months and years.
A proper tanking system seals the room like a shell. Liquid membranes are brushed on in multiple coats. Waterproof tape is applied at every joint and corner. This system is what makes a wet room actually work.
Plumbing Requirements for Wet Rooms
Beyond the floor drain, wet rooms sometimes require upgrades to the water supply lines. A shower uses more water pressure than a sink, so your existing pipes need to handle it.
An exhaust fan must also be installed or upgraded. Wet rooms produce a lot of steam and moisture. Without proper ventilation, mold builds up fast. The fan should be rated for the size of the room and vented outside, not into the attic or wall cavity.
For homeowners planning a home build and addition in the Dayton area, planning plumbing and ventilation together from the start saves time and prevents costly changes later.
Cost to Convert a Half Bath to a Wet Room
Here is a realistic breakdown of what conversion costs:
Basic conversion with DIY waterproofing and simple fixtures runs around $1,800 to $5,000. Mid-range projects with professional installation and quality tile run $5,000 to $10,000. High-end wet rooms with custom tile, upgraded fixtures, and full plumbing rework can reach $10,000 to $25,000 or more.
The biggest cost factors are plumbing changes, tile selection, and labor. If you need to move a drain line or reroute pipes, costs go up fast. Our guide on pros and cons of financing your home construction project covers your options for funding a renovation like this.
DIY vs Professional Installation
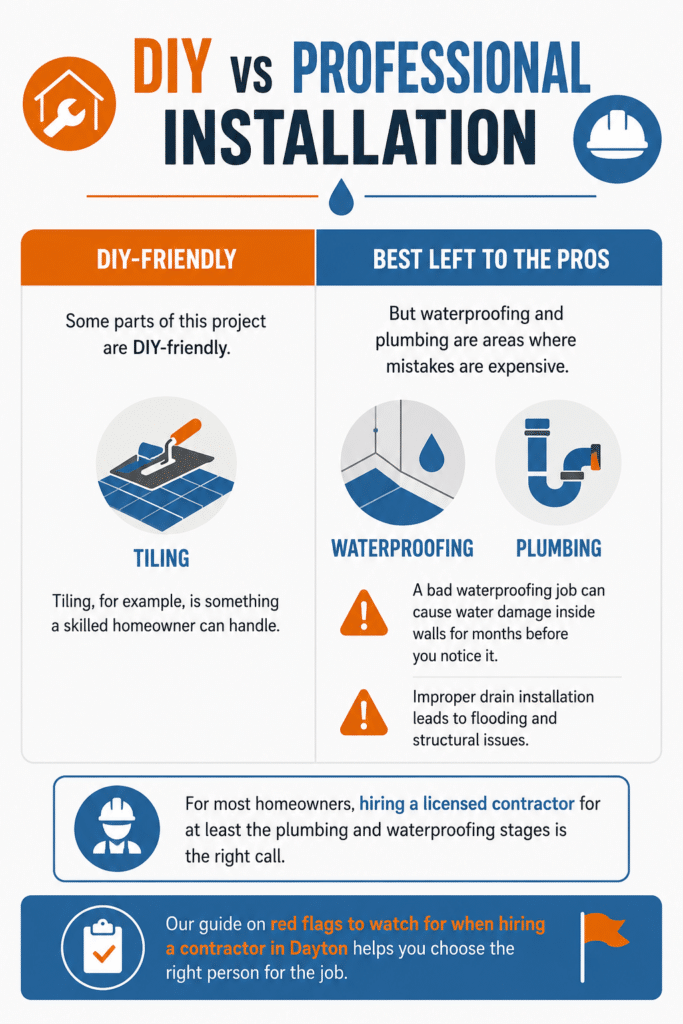
Some parts of this project are DIY-friendly. Tiling, for example, is something a skilled homeowner can handle. But waterproofing and plumbing are areas where mistakes are expensive.
A bad waterproofing job can cause water damage inside walls for months before you notice it. Improper drain installation leads to flooding and structural issues.
For most homeowners, hiring a licensed contractor for at least the plumbing and waterproofing stages is the right call. Our guide on red flags to watch for when hiring a contractor in Dayton helps you choose the right person for the job.
Common Mistakes to Avoid
Getting the floor slope wrong is the most common issue. Test the slope before tiling.
Skipping the exhaust fan is another big one. Ventilation is not optional in a wet room.
Using standard drywall behind tiles will fail. You need cement board or a purpose-built wet wall panel.
Not sealing corners and joints thoroughly leads to leaks at the worst possible spots.
Design Ideas for Small Wet Rooms
Light-colored tiles make small spaces feel larger. Neutral tones like white, cream, or light gray work well.
A single glass panel instead of a full enclosure keeps the room open. Recessed wall shelves save floor space and look clean.
Keep fixtures simple. A wall-mounted faucet and a streamlined showerhead free up visual space in a compact room.
For more ideas on making the most of a smaller space, our room renovation services in Dayton can help you plan a layout that works within your square footage. You can also find inspiration in our luxury bathroom remodeling tips guide for finishing ideas that work in compact spaces.
BGC serves homeowners across the Dayton area including Beavercreek, Kettering, Centerville, Oakwood, and Miamisburg.
Frequently Asked Questions
Can any half bath be converted to a wet room?
Most half baths can be converted, but space and plumbing access vary. A professional assessment helps confirm what your specific space needs.
How long does a wet room conversion take?
Most conversions take one to two weeks depending on the scope of plumbing and waterproofing work.
Do I need a building permit?
In most areas, yes. Plumbing changes typically require a permit. Check with your local building department before starting.
Is a wet room harder to keep clean than a regular bathroom?
No. Wet rooms are often easier to clean because there are fewer corners, tracks, and enclosures to scrub.
Can I add a wet room to a room without existing plumbing?
Yes, but it requires more plumbing work and higher costs to run water lines and drainage to the space.